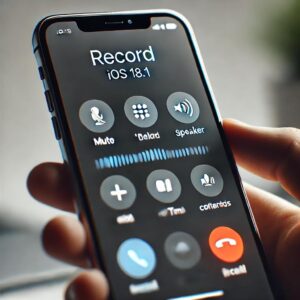
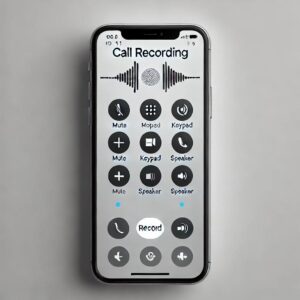
Good news for iPhone users: with the release of iOS 18.1, Apple has added a native call recording feature. This new function enables users to record and transcribe calls directly within the iPhone’s Phone app, eliminating the need for third-party apps. When a call is initiated, tapping the “Record” button will activate recording, and a message will play to inform both parties that the call is being recorded, aligning with privacy guidelines. The recording is then automatically saved to the Notes app, where users can access both the audio and a real-time transcript of the conversation. Additionally, the transcription supports multiple languages, making it accessible to a broader audience.
For further flexibility, iOS 18.1 allows users to share recordings through various apps or save them to Files. This update also introduces several other improvements, including smarter notifications and enhanced functionality for AirPods Pro. However, users are encouraged to check their local laws regarding call recording before using this feature, as legality varies by location.

Here’s a step-by-step guide to using the new call recording and transcription feature in iOS 18.1, giving you everything you need to get started with recording phone calls directly on your iPhone. This process not only enables recording but also provides real-time transcription, so you can revisit and organize key conversations easily. Here’s how to get started:
Step 1: Update to iOS 18.1
Before you can use the call recording feature, make sure your iPhone is running iOS 18.1. If you haven’t updated yet:
- Go to Settings > General > Software Update.
- Download and install iOS 18.1 if available. Ensure your device is connected to Wi-Fi and has at least 50% battery to complete the update smoothly.
This update introduces several enhancements beyond call recording, such as improved notifications, smarter AI for Siri, and even enhanced AirPods Pro functionality.
Step 2: Open the Phone App and Start a Call
Once your phone is updated:
- Launch the Phone app on your iPhone.
- Make or receive a call as you normally would.
The call recording feature is currently limited to the Phone app, so using it within other calling or messaging apps (like WhatsApp or FaceTime) might not offer the same recording options.
Step 3: Start Recording the Call

After the call connects, you can start recording:
- Locate the “Record” button in the top-left corner of the screen. It should appear after your call has connected.
- Tap “Record” to start the recording. iOS will automatically play an audio message to both participants saying, “This call will be recorded.”
This warning is part of Apple’s compliance with privacy standards, letting both callers know the conversation is being recorded.
Step 4: Real-Time Transcription (Optional)
While the call is being recorded, Apple’s intelligent transcription service will also provide a real-time transcript of the conversation:
- Look at your screen as the conversation unfolds. A transcript will appear, providing a written version of the spoken words.
- You can view this transcription on your screen live, making it easy to follow along if you’re discussing details you might otherwise forget.
This transcription feature supports multiple languages, including English, Spanish, Mandarin, French, Japanese, and German, making it accessible for a wide range of users.
Step 5: End the Recording and Access the Recording

When the call ends, the recording is saved automatically. Here’s how to locate it:
- Open the Notes app on your iPhone.
- In the Notes app, look for the “Call Recordings” folder at the top of your list.
- Tap the recording you want to access. You’ll see the options to play the recording and view its transcript.
This automatic saving and organization system in Notes makes it easy to locate recordings quickly and ensures your call data is safely stored in one place
Step 6: Access and Review the Transcription
The transcription is saved alongside the audio in the Notes app:
- Open the Notes app and locate the Call Recordings folder.
- Select your desired recording, and the full transcription will appear beneath the audio file.
- You can choose to read through the entire transcript, or tap on “Summary” for a concise overview of the call’s main points.
This feature is especially helpful if you need to reference only specific parts of a conversation without listening to the entire recording.
Step 7: Share or Save the Recording
If you want to share or export your call recording, follow these steps:
- Open the recorded call in the Notes app.
- Tap the three dots in the upper right corner to reveal sharing options.
- Choose “Share Audio” if you want to share via apps like Messages, Mail, or other supported platforms.
- To save the recording, select “Save to Files” to export it to the Files app, where you can organize it alongside other important documents.
This sharing feature can be helpful for legal, professional, or personal records.
.
Legal Considerations
While this feature is widely anticipated, remember to use it in accordance with local laws. Call recording laws vary by country and state; in some regions, it’s mandatory to obtain consent from all participants before recording a conversation. Apple’s announcement message at the start of recording serves as a general compliance tool, but it’s always a good idea to research your local regulations to avoid legal complications.
Additional iOS 18.1 Features for Enhanced Usability
iOS 18.1 comes with several other updates that can enhance your overall experience:
- Notification Enhancements: Now, a notification counter provides an at-a-glance view of unread alerts, helping users manage high-volume apps like Messages or Email more efficiently.
- Enhanced AI with Siri: Siri’s new contextual intelligence in iOS 18.1 allows for improved accuracy and the option to edit messages, making it easier to stay organized on the go.
- Improved Health Tracking with AirPods Pro: Apple has added hearing health features for AirPods Pro, such as noise control and hearing protection, making it possible for AirPods to double as hearing aids for some users.
This guide should give you everything you need to make the most of iOS 18.1’s new call recording feature, while also taking advantage of the other helpful updates. If you have any additional questions, feel free to check out Apple’s iOS support page for more detailed help with iOS 18.1 and its features.
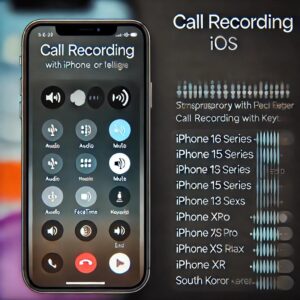
The call recording feature in iOS 18.1 is available only on the following iPhone models:

- iPhone 15 Pro
- iPhone 15 Pro Max
- Entire iPhone 16 lineup
This feature is exclusive to the newer iPhone models because it requires advanced hardware capabilities available in these devices. The feature is also limited to specific countries, including the U.S., U.K., Canada, Australia, and a few others, where recording laws are compatible with Apple’s implementation
